

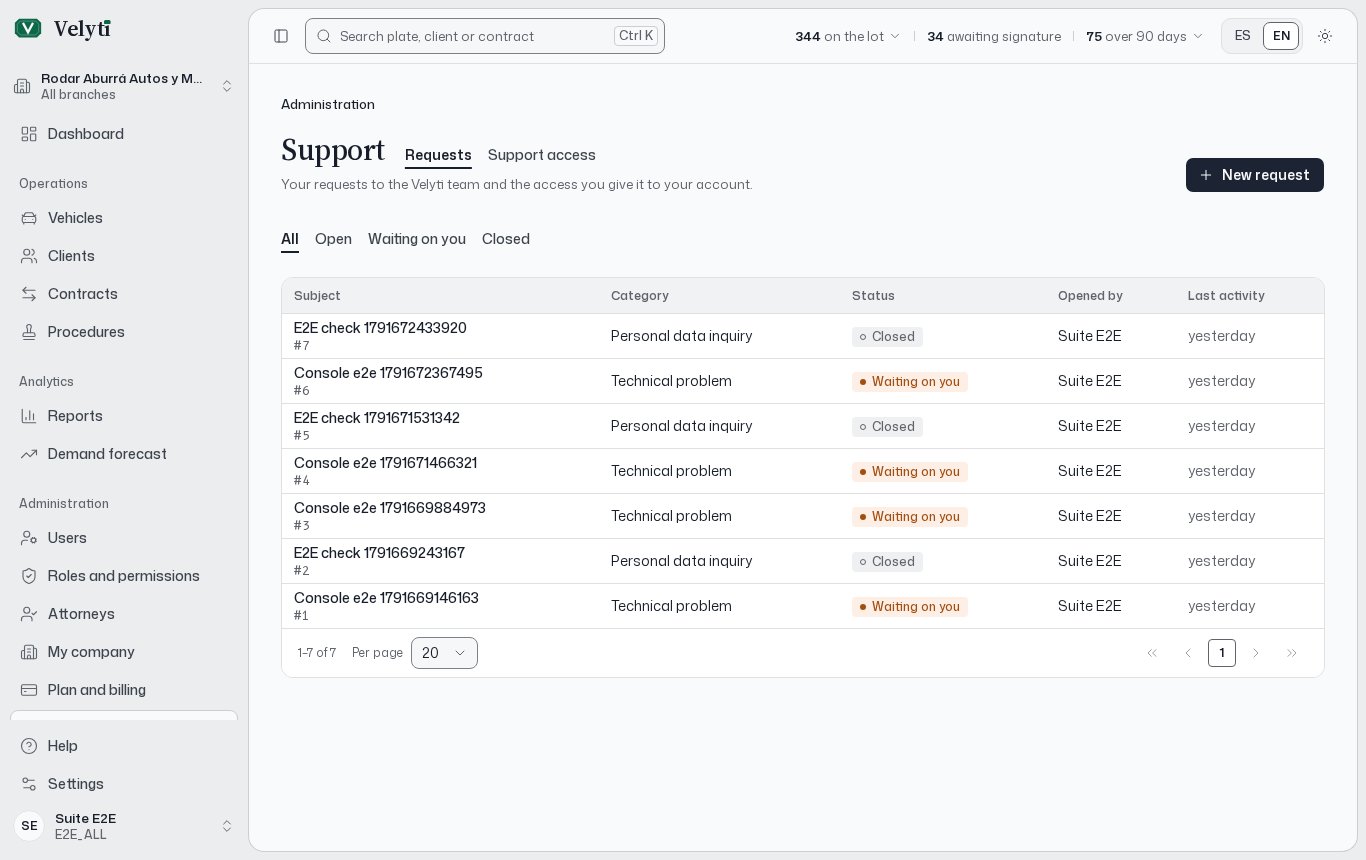
The Support page.
Before you write
- Look the term up in the Glossary. Many questions are about what a word of the paperwork or a figure means.
- If you cannot open a section, the message says your role does not allow it. Ask whoever manages your company’s Velyti account to add it to your role. That person is who to ask inside the company for roles, branches and users. See Users and roles.
- For plan limits or payments, check Plan and billing first.
Send a request
1
Open a new request
In Requests, choose New request.
2
Say what is happening
Write the Subject in one sentence: what is happening or what you need.
3
Choose a category
Pick the Category that fits best.
4
Tell us the details
In Message, tell us what happened, on which screen and what you expected to happen.
5
Attach files if they help
Use Add files for PNG, JPG or PDF files. The form shows the maximum size of each. Use Remove on a file to take it out.
6
Send
Choose Send request. The app confirms with Request sent.
Categories
Inquiries about personal data (Ley 1581 de 2012) are answered within 10 working days, and claims within 15. A request with a legal deadline shows it as Legal deadline with the date.
Follow a request
The Requests list shows each request’s Subject, Category, Status, Last activity and who opened it. Filter by status to find one.
Open a request to read the Conversation and the Attached files. To answer, write in Your reply and choose Send reply.
When you no longer need help, choose Close request and confirm. If you need more help afterwards, open a new request.
Support access
Sometimes the quickest fix is for the Velyti team to look at your account. The Support access tab lets you allow that, for a limited time.1
Choose Grant access
The team can only enter with your permission.
2
Set the scope
Read only can see your information but not change it. Full access can see and correct records for you.
3
Set the duration and the reason
The duration is between 1 and 72 hours. Write the Reason: what support should look into. It stays in the log. You can link a Related request.